
Mold Making Demo
|
This is a brief demonstration of the mold making process. It is not meant to be a step by step tutorial, just a basic demo to give you an idea of how a jewelry mold is made. I created this demo many moons ago while I was in the jewelry tech program. I now have my own equipment, but it basically all looks the same and I still use the same process.
|
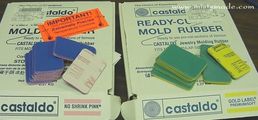
Photo #1 - the mold material that I used in class. The pads are sticky on the top and bottom. They have a blue plastic film on the top and a paper like film on the bottom. Both of the films are removed so that the pads will stick together.
|
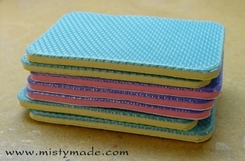
Photo #2 - in my jewelry class I used three pads of pink and four pads of yellow. I put the pink layers on the inside where the ring/object is located. Then I put two yellow pads on top and two yellow pads on the bottom. In class we combined the pink with yellow to save money because the pink is more expensive.
|
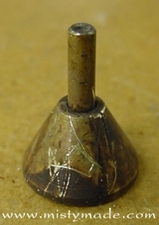
Photo #3 - is a sprue former and rod. It is placed inside the mold with the ring/object. It creates a channel in the mold so that it can be injected with wax.
|
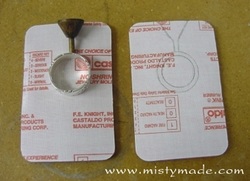
Photo #4 - the ring and sprue former are laid onto the back of a pink rubber pad, then the outline is traced onto the pad.
|

Photo #5 - the outline of the ring and sprue cup are also traced onto the other two pink rubber pads, then they are cut out using scissors or an exacto knife. The center circles are saved so that they can be placed inside the ring cavity. Only the middle pad has an opening cut out for the rod to fit into.
|
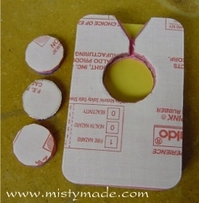
Photo #6 - shows two yellow pads and two pink pads stuck together. Each time a pad is added, the blue and white film is removed so that the pads will stick together.
|
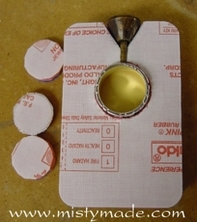
Photo #7 - the ring and the sprue former are fitted into the open slots.
|
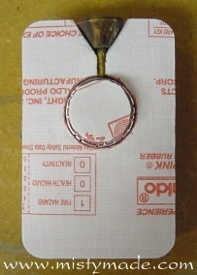
Photo #8 - the ring hole has been filled with the three circles.
|
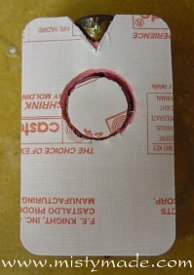
Photo #9 - the third pink pad has been added.
|
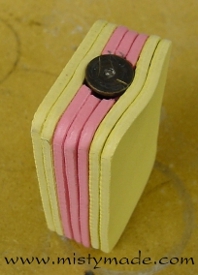
Photo #10 - shows all seven pads stuck together. The ring and sprue former are inside the mold. The top of the sprue cup is visible.
|
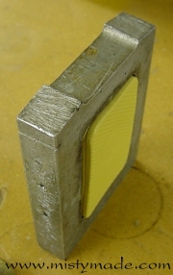
Photo #11 - the mold "sandwich", as I like to call it, is then placed into a metal mold frame.
|
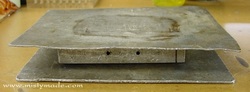
Photo #12 - the mold frame is placed between two metal mold plates.
|
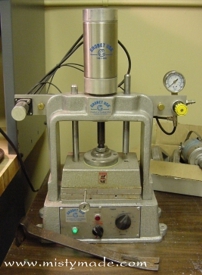
Photo #13 - is a photo of the vulcanizer. This machine heats the rubber mold to 305-310 degrees and melts it. It is also under pressure.
|
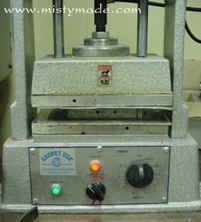
Photo #14 – the mold “sandwich”, along with the metal frame and plates are placed inside the vulcanizer. The temperature is set to 305 degrees and the vulcanizer runs for 49 minutes (7 minutes per pad).
|
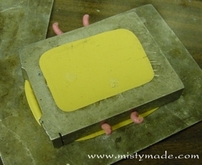
Photo #15 - this is what it looks like when it comes out of the vulcanizer.
|
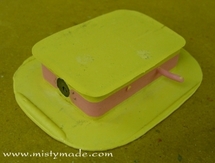
Photo #16 - the mold has been removed from the mold frame.
|
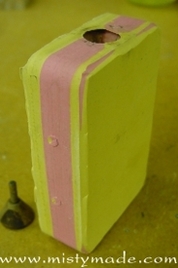
Photo #17 - the next step is to trim off all the extra rubber material. I use scissors to do the trimming.
|
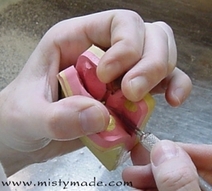
Photo #18 - to cut the mold open I place a sharp new blade into the exacto knife and I pry the mold open with one hand and cut with the other.
|
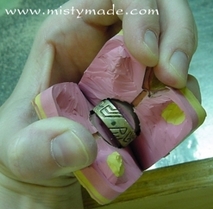
Photo #19 - you can see the ring emerge from the mold.
|
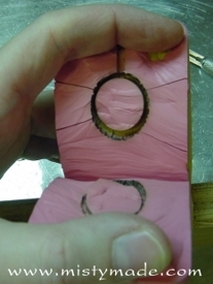
Photo #20 - after the mold is cut open, I cut air vents into the mold. They are lines that go from the ring to the outside. They allow air to escape while the wax is being injected into the mold.
|
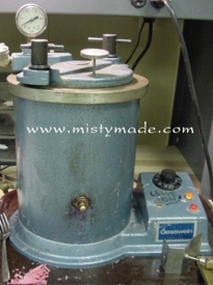
Photo #21 - here is a photo of the wax injector that I used in school. The one I have now is very similar to this one.
|
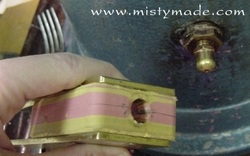
Photo #22 - this is a close up of the nozzle. I place the mold between two brass plates to stabilize it while I inject.
|
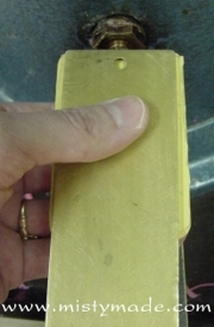
Photo #23 - the mold is being injected with wax.
|
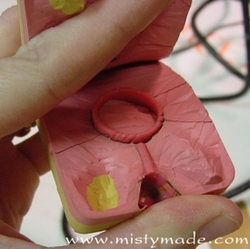
Photo #24 - this is what it looks like after it is injected.
|
Copyright 2002-2021, mistymade.com. All rights reserved.