
Casting Demo
|
This is a brief demonstration of the lost wax casting process. It is not meant to be a step by step tutorial, just a basic demo to give you an idea of the casting process. I created this demo many moons ago while I was in the jewelry tech program. I now have my own equipment, but it basically all looks the same and I still use the same process.
|
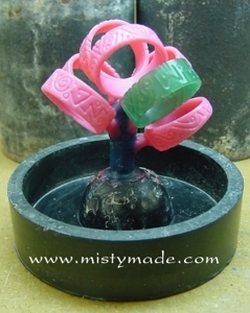
Photo #1 - shows seven rings that are sprued onto a wax tree. The tree is attached to a rubber base. The green ring is an original that was hand carved from a tube of wax. The pink ones are offspring from another ring that I previously carved, cast, and made a mold of. The wax injector had pink wax in it at the time, that is why they are pink.
|
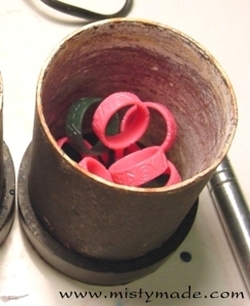
Photo #2 - a metal flask has been tightly fitted onto the rubber base.
|
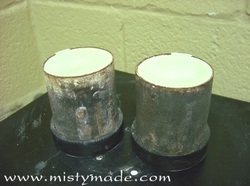
Photo #3 - the flask has been filled with investment, which is a plaster-like material. The flasks are sitting on a vacuum investing machine, this machine removes the air bubble from the investment. After the investment dries, the flask is placed inside a kiln. This process burns out the wax models and cures the mold.
|
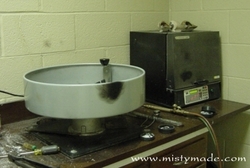
Photo #4 - is a photo of the centrifugal casting machine and burn out kiln that I used during jewelry tech school.
|
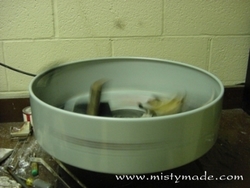
Photo #5 - shows the centrifuge spinning around with my flask in it.
|
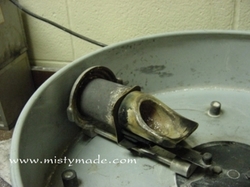
Photo #6 - the centrifuge has stopped and you can see the flask sitting behind the crucible (the cruddy looking cup thing).
|
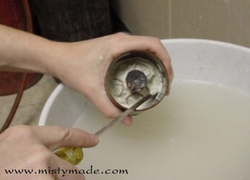
Photo #7 - after the flask has cooled a little bit, it is removed from the centrifuge and quenched in a bucket of water. Some of the mold material will break apart during the quenching step, but I usually have to manually remove most of it.
|
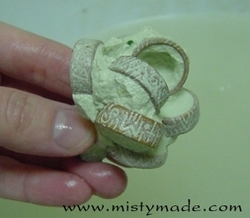
Photo #8 - the tree has been freed from the flask and still has investment all over it. I will clean off as much as I can manually, then place it in an ultrasonic to remove any remaining investment. I will then place it in the pickle pot to remove surface oxides.
|
Photo #9 - the tree is nice and clean.
|
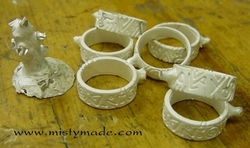
Photo #10 - the next step is to remove each ring from the tree. The tree material can be recycled in a later casting.
|
Photo #11 - I use a giant metal file to remove the sprue nub, then I sand blast the ring to remove the white coating and any remaining investment. I will then use finer files to remove any rough spots, and then I use sanding sticks to smooth the surface.
|
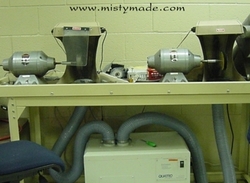
Photo # 12 – I will then take the ring to the polisher and make it shine!
|
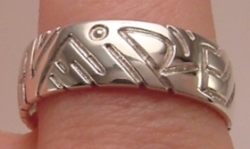
Photo #13 – a pic of the ring after it has been polished.
|
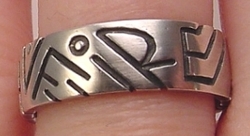
Photo #14 - a pic of the ring after it has been dipped in liver of sulfur and brushed with steel wool. The liver of sulfur gives the carved areas a nice deep color so that it pops!
|
Copyright 2002-2021, mistymade.com. All rights reserved.